
2025 Fall Dollar Tree DIYs that Don't Look Cheap!
- Cass

- Nov 17, 2025
- 2 min read

Prepare to turn budget-friendly Dollar Tree products into luxurious-looking fall decorations. I'm using left over rope from a previous project and some basic dollar store items. This is perfect for achieving an enhanced and cost-effective appearance. These DIY projects are simple, economical, and impressive enough to appear store-bought! You can easily transition these decor pieces to different seasons. Check out how each piece is put together!
Large Hurricane Glasses
Materials:
Large Glass Vase
Rope
Colored Twine
Battery Operated Candle

Step 1: Round up a large glass vase. rope. colored twine, and a battery operated candle.

Step 2: Wrap some colored twine around rope and secure with hot glue. I wrapped colored twine at spaced intervals along the rope.

Step 3: Next, begin wrapping the rope around the large glass vase, starting from the bottom. Apply glue at various intervals to hold the rope in place. Keep repeating the process until the rope covers a portion of the vase.

Rope Pumpkin Tray
Materials:
Rope
Pumpkin Cutout Chipboard
Hot Glue Gun

Step 1: Reach for rope, pumpkin cutout chipboard and a hot glue gun. I'm upcycling this pumpkin cutout for this piece of decor.

Step 2: Wrap the rope around the chipboard pumpkin cutout and adhere with hot glue.

Step 3: I previously made a rope bowl that I will be using as the base. Adhere a rope ball to the center of the rope bowl.
Step 4: Attach the center of the rope pumpkin to the top of the rope ball.

Splatter Pumpkin Decor Jars
Materials:
Ceramic Pumpkin Jar with lid
Paint Brush
Black Acrylic Paint
Water
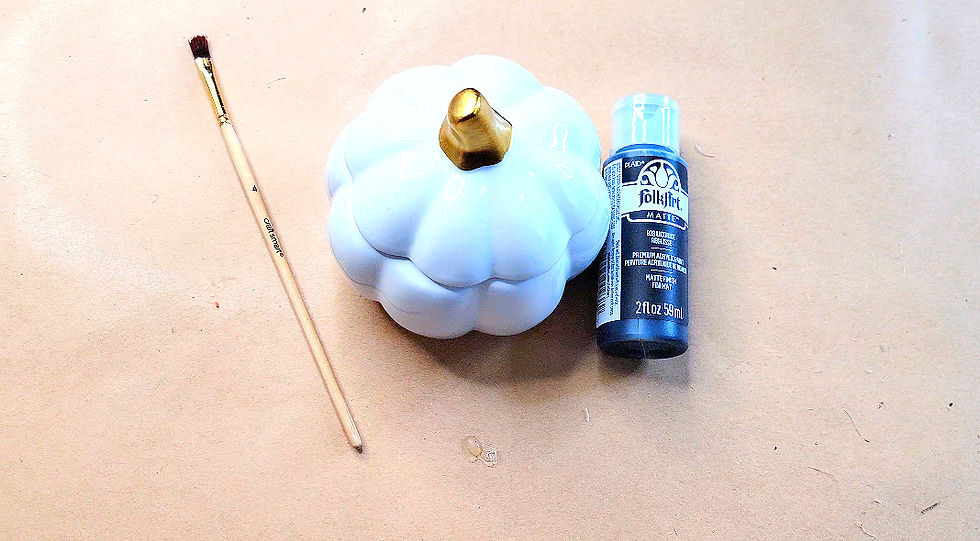
Step 1: Gather a paint brush, a plain lidded pumpkin jar, and black acrylic paint.

Step 2: Use black acrylic paint to paint the pumpkin's stem.

Step 3: Combine water and black acrylic paint in a cup to thin the paint.
Step 4: Grab a box a place the bottom of the ceramic pumpkin face down. Splatter on the diluted black paint using a paint brush.

Step 5: Splatter paint on the lid.

Here are the results! I am a big fan of how these decor pieces turned out. I really like the neutral tone and look of these. Comment and come say Hi. Tag me @Craftingwithcass on Instagram if you decide to create your own! Subscribe to the blog for everything DIY and NEW updates!
Watch the video for even more details!


Comments